Mount the SO239 connectors on the sides slots from the inside out, using the M3 bolts and nuts. Leave the slots that correspond to the capacitor extension temporarily empty.
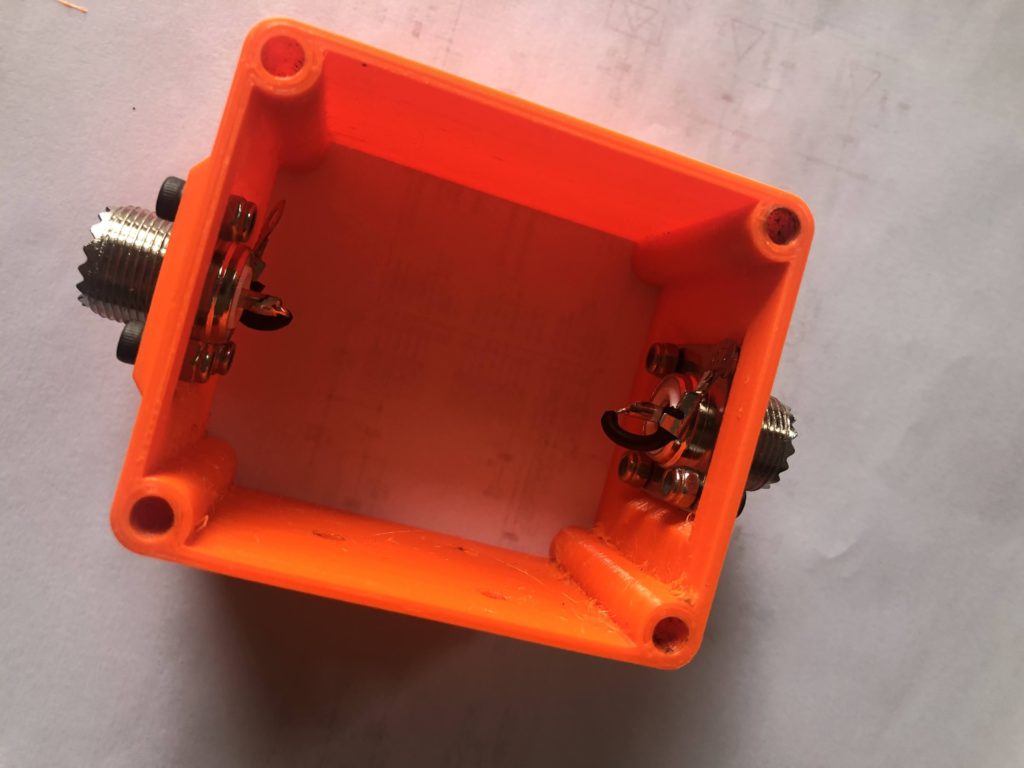
You are now ready to mount the capacitor and the box-support using the 6-32 screws.
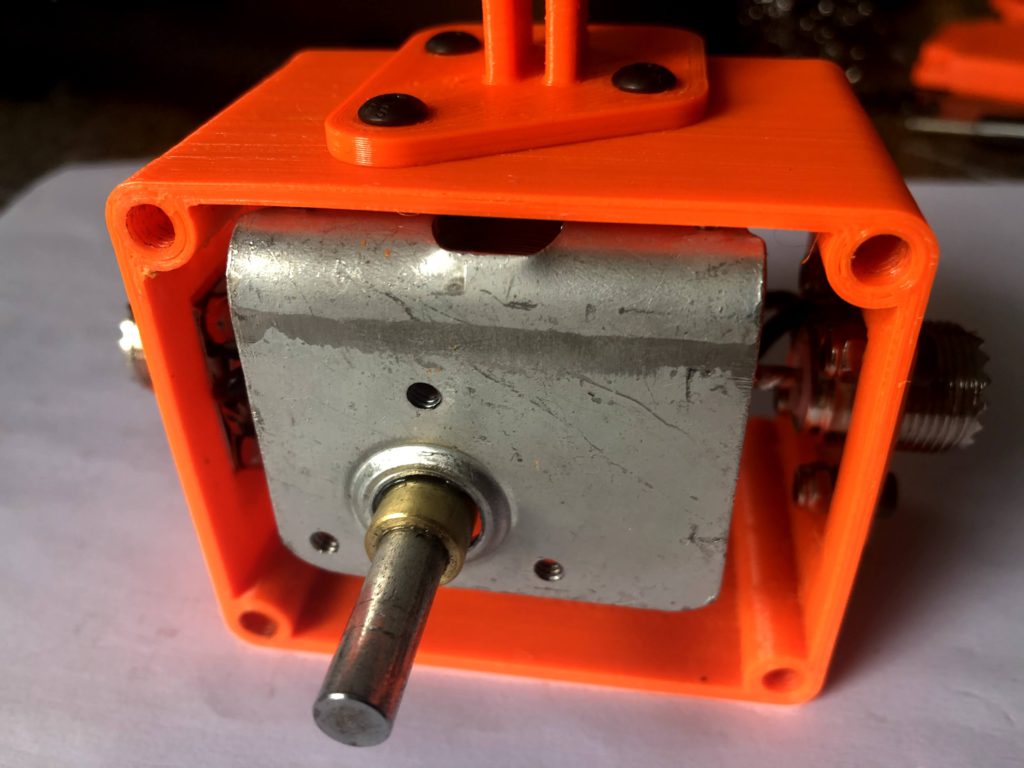
Now connect the capacitor terminals to the SO239 (and also the SO239 central conductor, if you have decided to use it). Finally, mount both the front and the read covers using the M5 screws.
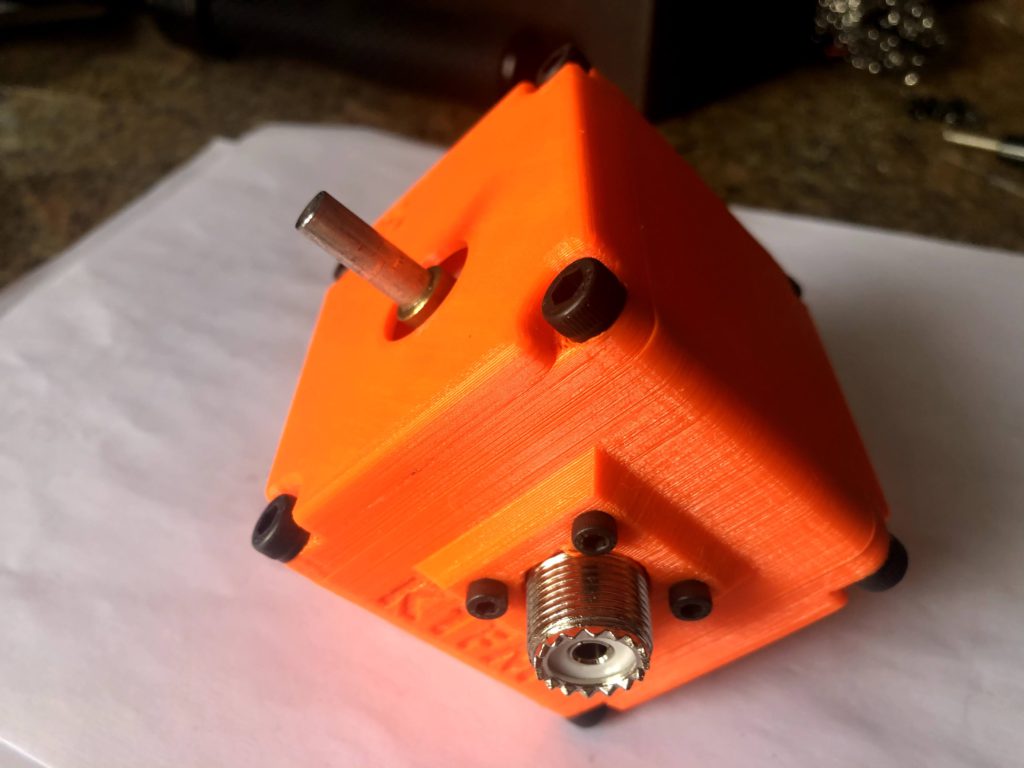
The only things that are now missing are the Dial busing (I printed it in blue) and the Knob. Before mounting the dial, make sure the shaft is placed at the counterclockwise end (maximum capacity) then mount it like so:
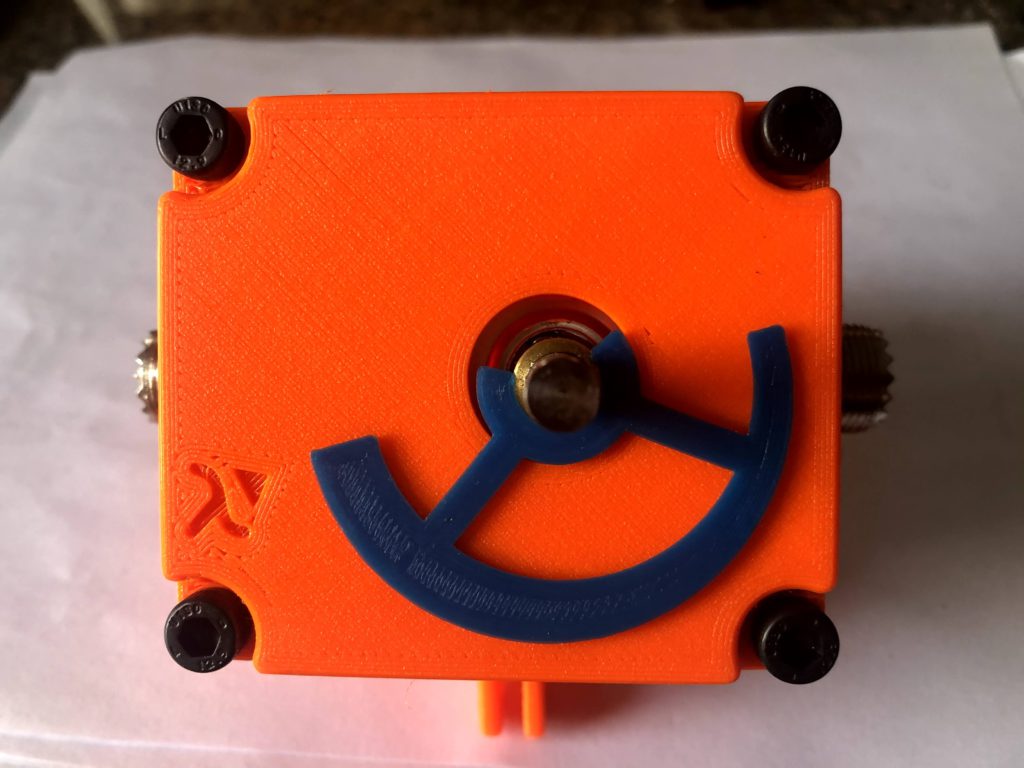
Finally, you can mount the Knob.
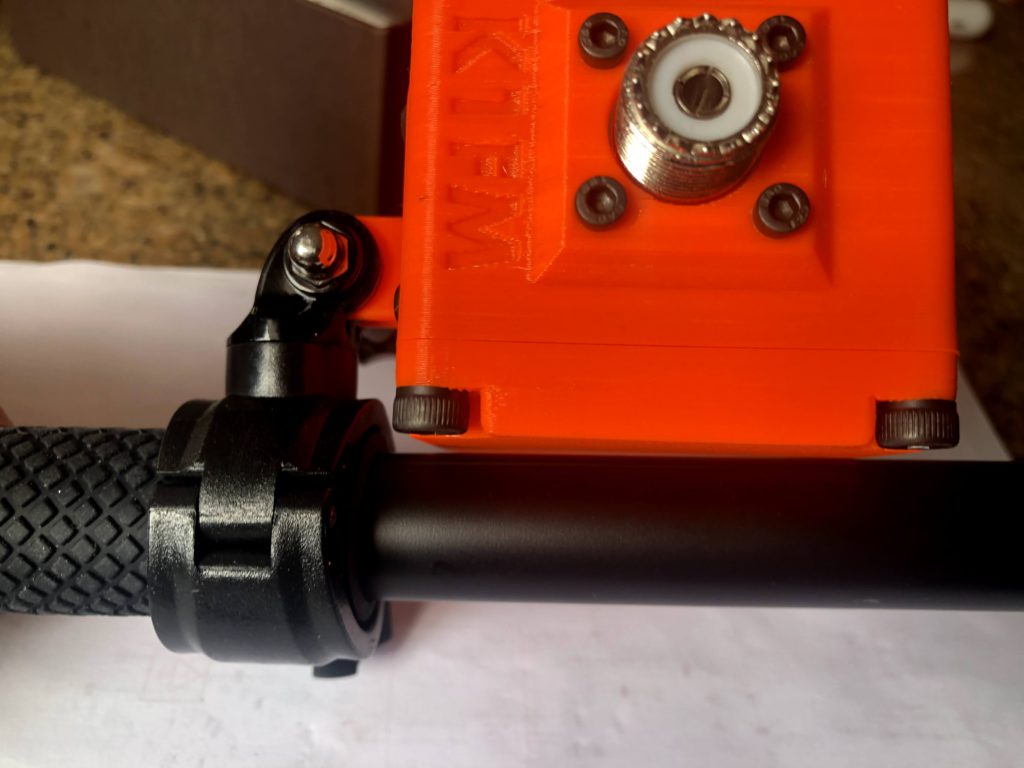
The box is now ready. Let’s take a look at the Radiator / Exciter assembly: